
Get Started
You can embed our Javascript SDK into any website or web application. This include (but not limited to):
✅ HTML
✅ Google Tag Manager
✅ Webflow
✅ React
✅ Angular
✅ Vue.js
✅ Next.js
✅ React Expo (Web)
✅ Gasby
Not sure if your project is supported? Contact us to find out.
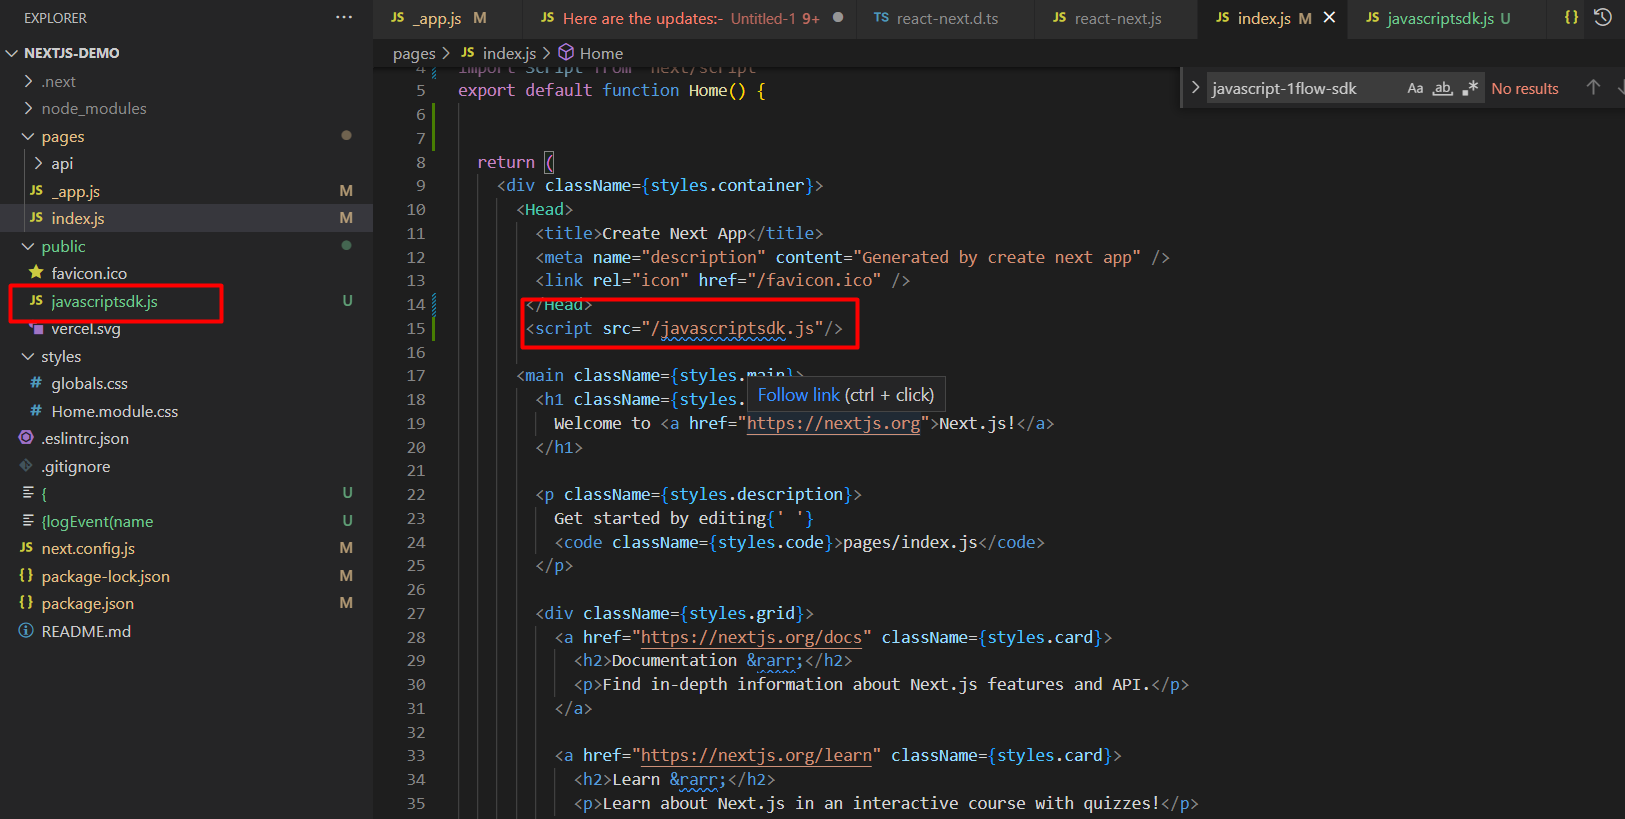
1. Embed our script
Copy and paste the below code snippet inside the header (
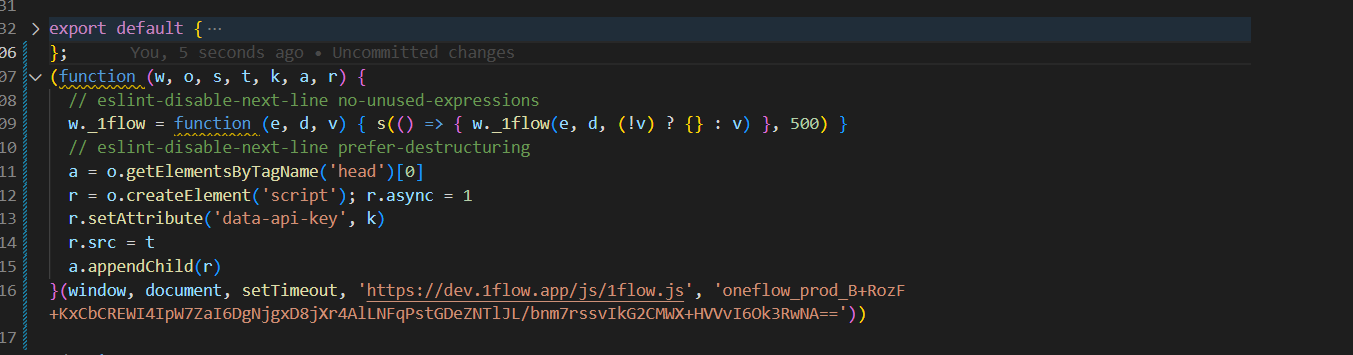
<head>) section of your site. Place the tracking script between the <head> … </head> tags. html<!-- 1Flow Tracking Script --> <script> const apiKey = 'your-project-api-key'; // TODO: replace this with your api key (function(w,o,s,t,k,a,r){ w._1flow= function (e,d,v){ s(function(){w._1flow(e,d,(!v)?{}:v)},5)}, a=o.getElementsByTagName('head')[0]; r=o.createElement('script');r.async=1; r.setAttribute('data-api-key',k) r.src=t; a.appendChild(r); })(window,document,setTimeout,'https://1flow.app/js/1flow.js', apiKey); </script> <!-- End of 1Flow Tracking Script -->
Note: you need to replace
your-project-api-key with your actual project API key. Click here and navigate to Settings → Project → API keys section. Copy your API key and paste it into the code snippet.👨🏻💻 Instructions for popular frameworks.
React
Angular
Next.js
Vue.js
Gasby

Customize Fonts (Optional)
If you want to customize the fonts of 1Flow widgets, also add the following between the
<head>...</head> tags.html<style> @import url('https://fonts.googleapis.com/css?family=Muli&display=swap'); @import url('https://fonts.googleapis.com/css?family=Quicksand&display=swap'); :root{ --oneflow-sdk-regular-font:'Muli', sans-serif; --oneflow-sdk-bold-font:'Quicksand',serif; --oneflow-sdk-medium-font:'Muli', sans-serif; } </style>
@import is optional if you are using font names already in use on your website. Simply refer to the font family names already in use. 2. Identify users
This step is optional - only needed if you want to know the user identity, or refine targeting based on certain traits.
For logged in users, you can send us any traits about the user (such as their name, email, company, role, language, ...). This way, you’ll be able to see who sent the feedback, and refine your target audience for each survey based on the user traits and events.
Whenever the user has signed in, you can make an
identify call to send us the user id, along with any traits.html<script> window._1flow('identify', 'userId', { 'name': 'Jane Doe', 'company': 'ACME, Inc.' 'email': 'jane.doe@gmail.com', 'plan': 'Premium' 'total_spend': 880 }); </script>
You can identify a user without updating any user traits by omitting the last parameter, like this:
html<script> window._1flow('identify', 'userId'); </script>
We recommend that you make an
identify call on every new session to ensure data is up-to-date.3. Track events
This step is optional - you can always use page URL rules to trigger events (no-code required).
If you want to control more precisely when a survey should show up, or track events completed by each user in order to refine target audience, then you can send us events data using the
track call. html<script> window._1flow('track', 'event name', { 'record_id':'1234abcdef56', 'quantity': 1 }); </script>
You can track an event without any event properties by omitting the last parameter, like this:
html<script> window._1flow('track', 'event name'); </script>
Example usage
Launch your first survey
Now that you've successfully installed 1Flow into your app, it's time to create your first survey.
If you've already created a survey and published it, run the app and trigger the event. You should see the survey show up when the event is fired.